-
Products
- Thermal Management
-
Optical Technologies
- Cameras
- Discrete Detectors and Arrays
- Fibers, Fiber Optics
- Lasers & Light Sources
- Laser Safety
-
Optical Test, Tools and Measurement
- Cleaning Tools for Optics
- Fiber Optics Processing
-
Optical Test and Measurement
- Beam Profilers
- Fiber Properties Measurements
- Fiber Sensing
- Integrating Spheres
- Interferometers
- Light Sources for Measurements
- Measurements of Passive Optics and Connectors
- Microscopes
- OTDRs
- Other Optical Tests and Measurements
- Power Meters
- Reflectance Targets
- Spectrometers, Spectrographs, Spectroscopy Cameras
- Tools for Optical Adhesives
- Optics
- Optomechanics and Motion Control
- Electronics
- Chemicals
- Suppliers
- Solutions
- Company
- Blog
- Career
- Events
- Contact us
Product Portfolio
Our interferometers are important tools for quality control of fiber optic connectors and other applications. After assembly and polishing, interferometers are used for contactless measurement of the geometry of the connector’s polished end face in three dimensions. Properties measured are ferrule and fiber radius of curvature, apex offset, fiber height and others. Beyond test pass or fail information, our range of digital automated interferometers for single- and multi-fiber connectors produce detailed geometry reports.
Our portfolio of interferometers for single-fiber connectors ranges from a cost effective, yet fast and accurate solution for high-volume measurement in manufacturing or laboratory environments to a series of robust, compact and easy to use interferometers specifically designed for use in a production environment, bringing speed and precision to operators, all the way to the ultimate production solution for measuring end-face geometry on single-fiber connectors, equipped with a revolutionary “no-exterior-moving-parts” mechanical design.
Our highly advanced interferometers for precise measurement and inspection of fiber end faces are suitable for either fiber holders or connectors. Two series are available for fiber end faces with cladding diameters from 125 to 720 μm or 250 to 1200 µm respectively. These interferometers are designed for production lines, but well suited also for R&D environments and for fiber cleaver or connector maintenance purposes.
Interferometers for multi-fiber connectors include cost-effective devices for high-volume production or laboratory environments without compromising accuracy or performance, supporting MT-12 or MT-16 multi-fiber connectors, as well as the industry reference for MT product measurements, designed for use in production and field applications with measurement plus calculation time below 5 s for MT-12 based connectors, also available with integrated microscope and “Floating Pastille” fixture technology for highly accurate X/Y end face angle measurements of connectors mounted with heavy cables.
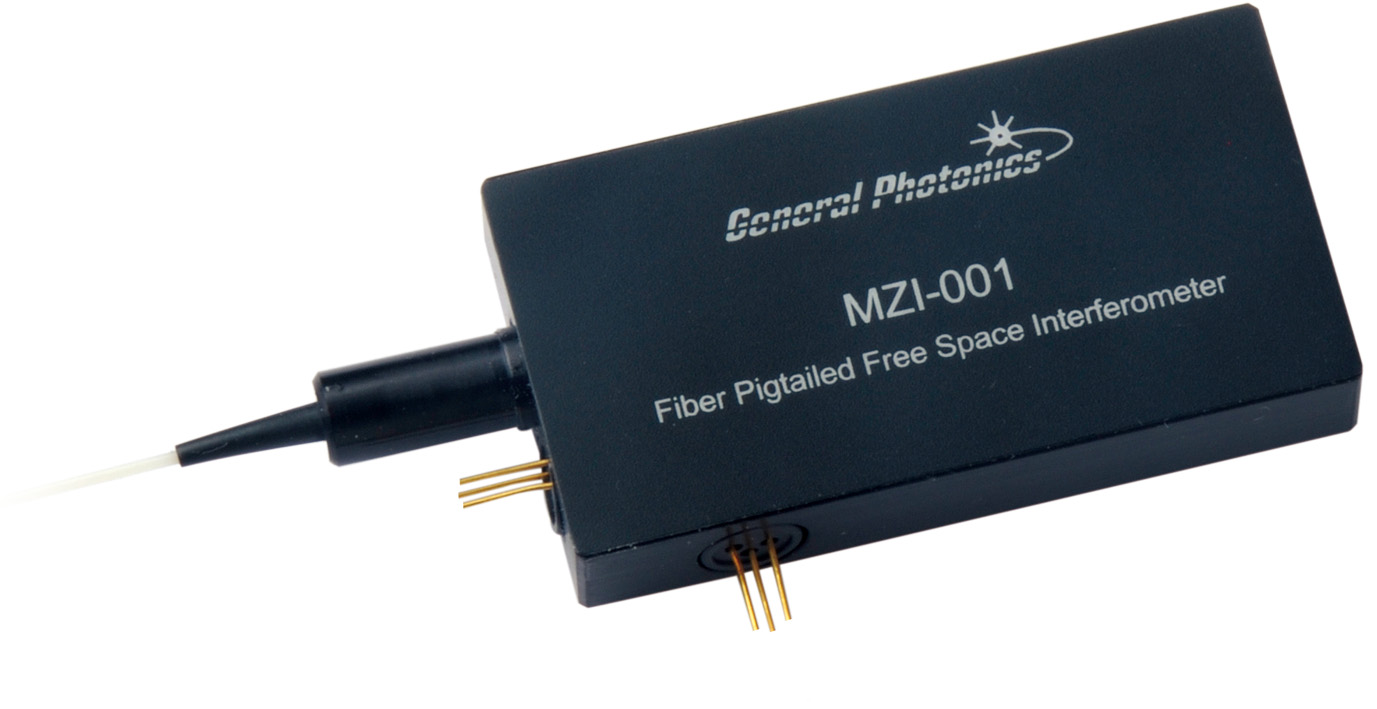
In addition to systems measuring the end face of optical fibers and connectors, we also carry interferometers for other applications like a fiber-pigtailed Mach-Zehnder free space interferometer that detects changes in optical frequency or Michelson and Mach-Zehnder fiber interferometers for use in precision test and measurement instrumentation as well as fiber sensing systems.
Related Products
Complementing our interferometers, we offer a broad portfolio of further devices for inspection, test and measurement of optical connectors like an extensive range of fiber optic microscopes for every application and budget, tools and systems for measuring passive optics and connectors, as well as other fiber properties measurement devices like fiber analysers, tensile testers, or refractive index measurement services.
Equipment like light sources, optical power meters or OTDRs allow tests of optical fibers or patch cables in the laboratory as well as in the field.
AMS Technologies’ further optical test and measurement offerings include beam profilers, integrating spheres, reflectance targets, spectrometers, spectrographs and spectroscopy cameras, as well as fiber sensing equipment.
Tools for fiber optics processing, dispensing and curing of optical adhesives and cleaning of optical connector surfaces round off the AMS Technologies range of solutions around optical test, tools and measurement.
Definition
The end face geometry is a key factor for controlling the connector’s performance as it determines which areas come into contact when two connectors are mated. By measuring end face parameters such as radius of curvature, apex offset and fiber height during or after the polishing process, interferometers can help to control the quality of the connector and to ensure that the specifications of relevant industry standards like IEC or Telcordia are met.
Interferometry uses light waves to measure a surface in three dimensions. By combining an image with the reflection of a reference mirror, constructive and destructive interference patterns in the guise of light and dark stripes are created. Similar to the contour lines of a topographic map, these interference patterns create a map of the contours on the surface to be measured. The distance between two dark stripes corresponds to half the wavelength of the light used.
Dedicated software can very accurately determine the height of a pixel relative to the neighboring pixel from the interference pattern in a few seconds, thus generating a complete, three-dimensional surface profile.
Red or White Light Scan Mode?
For the interferometric measurement of fiber optic connectors either white or monochromatic, mostly red light is used. The red light scan mode is especially suitable for single-fiber connectors like ST, FC, SC, LC, E2000, MU or SMA. It provides data of very high accuracy and detail for PC or APC polished connectors very quickly but is less suitable for very rough surfaces or those with strong height jumps over more than a quarter of the wavelength. Here the white light scan mode, using a piezoelectric actuator as accurate positioning stage, has advantages as it can measure differences in height in a broad range from nanometers up to centimeters. This technology is best suited for interferometry of multi-fiber connectors like MTP® or MPO with up to 72 fibers in one connector.
Main Parameters to be Measured
For single fiber connectors like ST, FC, SC, LC, E2000, MU or SMA, the following three parameters are defined by industry standards:
- Radius of Curvature: The radius of curvature is defined as the radius of a sphere that fits best the area of the fiber end face essential for the contact. During interferometry, the radius of curvature is determined by means of mathematical approximation methods. The position of the ferrule has no influence on the calculation.
- Apex Offset: The distance between the center of the fiber and the apex of the theoretical sphere surface enclosing the curvature of the ferrule is called the apex offset. To determine this value exactly, the perpendicularity between ferrule and reference mirror must be known and calibrated for the interferometer system.
- Fiber Height: Fiber height can be defined in two ways. Spherical fiber height (for spherically ground fibers) defines the difference between the height of the fiber center and the height of vertex of the ferrule sphere. Planar fiber height is based on considering a flat fiber surface in a spherical ferrule. Here the planar fiber height is defined as the distance between the center of the fiber and the center of a theoretical plane at the height of a circle around the end face plus adhesive region.
In addition to that, multi-fiber connectors like MTP® or MPO require the following parameters to be measured by the interferometer:
- End Face Angle: Angular deviation, in degrees (°), of the connector end face compared to an ideal end face defined as a plane perpendicular to the center lines of the guide holes or pins of the multi-fiber connector. End face angle is defined along the X-axis as well as the Y-axis of this plane.
- Flatness Deviation: This parameter specifies how flat the surface of the connector is. It is defined as the height difference in the center of the connector between the best fit plane and a bi-parabolic surface spanned by the measured data points.
- Maximum Differential Height Adjacent: Here the maximum difference in planar fiber height measurement is indicated that has been found between two adjacent fibers within any row of fibers and/or to an adjacent row of fibers.
- Planar Differential Height: This parameter indicates the height difference between the highest and lowest among all fibers of a multi-fiber connector.
- Maximum Core Dip: After polishing of multi mode fibers, the (softer) core tends to show a lower end face height than the surrounding cladding. The maximum core dip indicates the highest core dip value of all the fibers measured for a multi-fiber connector holding multi mode fibers.
- Fiber Array Angles: Angular deviation of a plane that best fits all of a connector’s fiber end faces is measured in X and Y orientation, relative to a plane perpendicular to the average axis of the connector’s two guide holes or pins. If a multi-fiber connector has just one row of fibers, the fiber array Y angle is best-fitting plane to the ferrule.
- Minus-Coplanarity: This parameter indicates the distance between a plane that best fits all of a multi-fiber connector’s fiber end faces and the least-protruded fiber end face of that connector. Minus coplanarity is not measured in a direction perpendicular to the connector’s surface but perpendicular to that best-fit plane.
Alternative Terms: Interferometry; Fabry-Perot Interferometer; Michelson Interferometer; Mach-Zehnder Interferometer